

 Here is some insight on the top 5 camera accessories beginners pay way too much for, and how to avoid being victim to overpriced and unneeded camera accessories. Whether your buying your own camera for the first time, or as a gift for a loved one, it's clear you need some extra gear upfront to get the most of your new camera. Photography has a terribly confusing mix of gear that you should sometimes only buy the best, and other times never buy the best.
Camera Accessories Beginners Pay Too Much For #1, UV Filter

I'd say this is the number 1 area where beginners get up-sold inc camera accessories. A UV filter is an "Ultraviolet Filter" that screws on to the end of your lens and blocks out some level of ultraviolet light. You may get a very convincing pitch as to why you should buy a $20, $40 or even high priced UV filter. Don't do it. UV Filters were needed with the use of film as they were particularly sensitive to UV rays, digital cameras today process images just fine without it. Especially if you are a beginner you will not be able to notice any difference (for the better) in your photos taken with and without a UV Filter. UV Filters are often used by photographers not for their UV blocking abilities, but as a protective filter keeping your expensive otherwise exposed front lens element from scratches. Personally I do not use these, but I would say most do, and have seen a few cases of dropped lenses where the UV Filter saved the lens' life. If you want a UV Filter to protect your lens go ahead it's a great idea to make sure to buy one online for $5 - $10. This is not an item where paying for the highest quality will give you any discernible results.
Camera Accessories Beginners Pay Too Much For #2, Batteries & Power
 An extra battery is definitely an essential accessory for your new purchase. Nothing's much worse as a professional photographer than spending a magical day at Disneyland only to find you've taken one too many pictures of the drunken pirates and having your camera die moments before the World of Color show. Really though, you can never have too much batteries, only not enough.
There are two arenas of batteries when it comes to digital cameras, OEM & Third Party or off-brand. OEM means 'Original Equipment Manufacturer'. That means if you want a new battery for your Sony A6000, you buy the OEM version made by Sony. Most OEM batteries start at about $60. An unnecessary cost when you can usually go third party and get two extra batteries with a charger for $20 in many cases.
It's possible to get a bad off brand where the camera cannot read the amount of charge, read the reviews before purchasing. The top-rated batteries should be just what you're looking for.
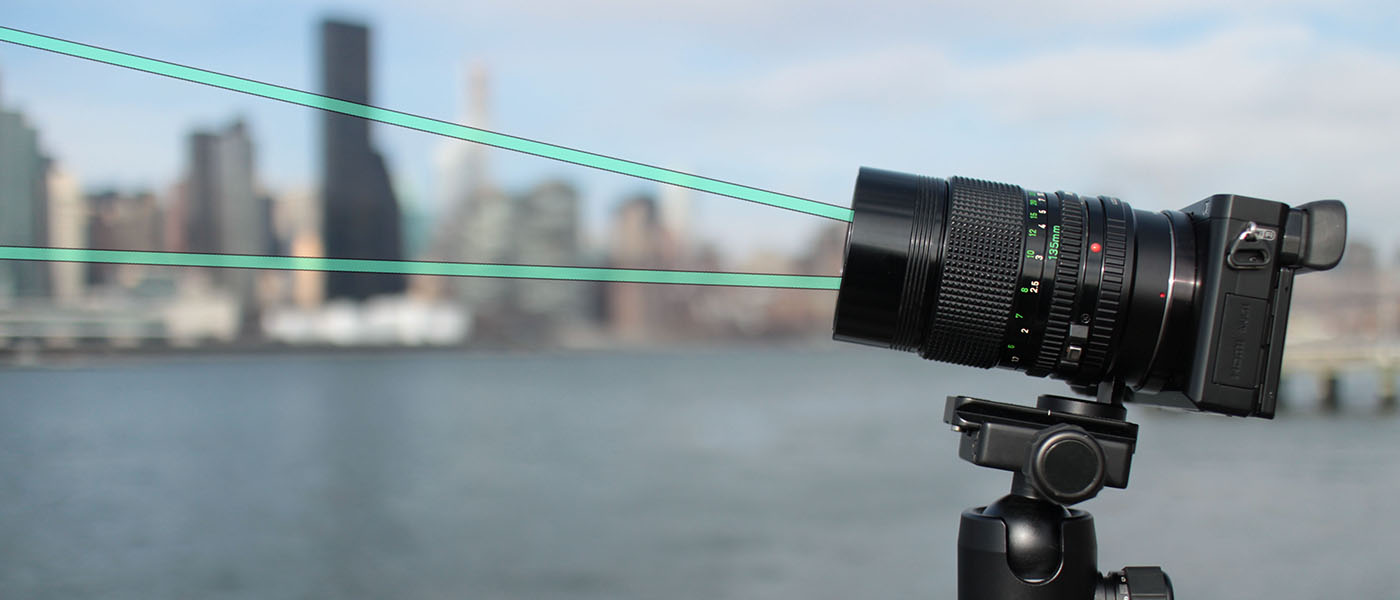
Camera Accessories Beginners Pay Too Much For #3, Tripods
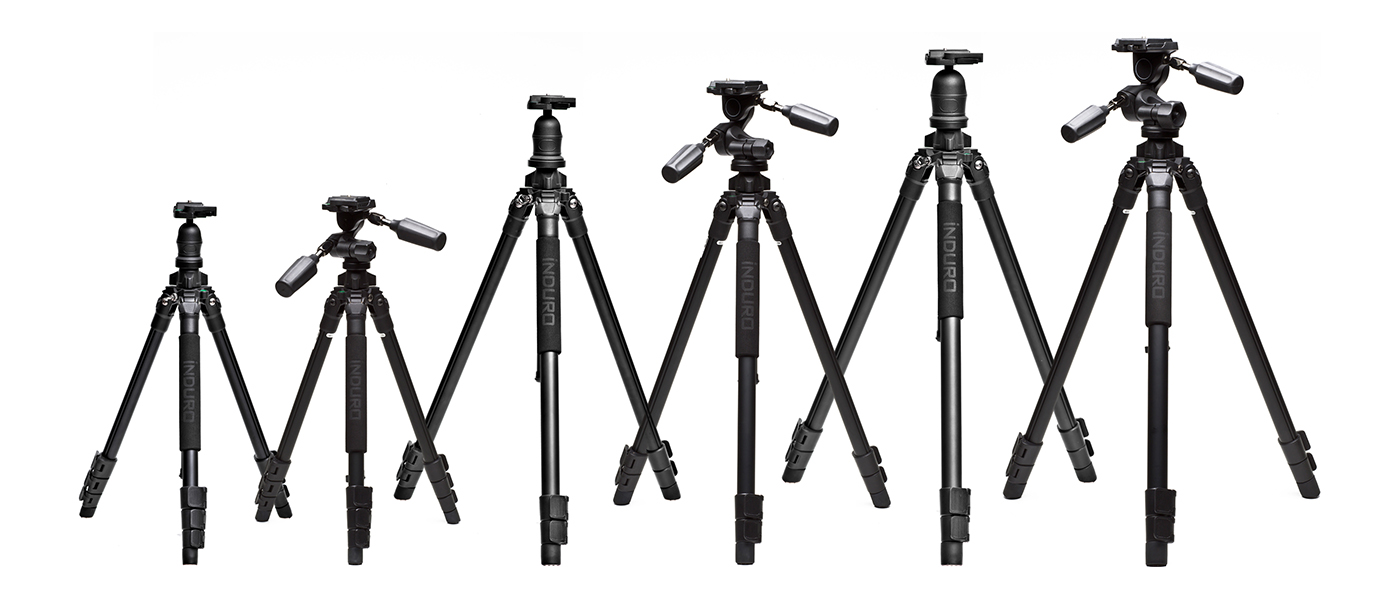
I have had many tripods from $25 up to over $1000. Tripods fall into the category of 'things you should not buy cheap'. Don't worry though you don't need to spend $1000. Don't get suckered into buying a $30 tripod because you need one and the price looks right. If you're a beginner you should search for tripods costing $90 - $150. That price range can get you a very functional decently made tripod. Anything less will give you in theory a tripod, but in practice just some wiggly sticks with an tripod head that refuses to do what you want it to and therefore a waste of money. After years of tripods at all costs, my favorite and one I use often comes in a only $209, the MeFoto Globetrotter Black.
Camera Accessories Beginners Pay Too Much For #4, Memory Cards
Memory cards advertise based on their read/write performance. Read speed is how fast the card reads the data (faster means quicker uploads to your computer), write speed is how fast the camera write the picture or video data to the card (faster means no errors when rolling video and less buffer time between photo bursts).
 Often shown on the packaging as "Class" or "MB/s". There are such a thing as bad memory cards but you are new to photography you don't need to pay for ones everyone else is buying. Luckily even good ones are pretty cheap these days. If you're going to be doing video I recommend buying a card with at least a 30MB/s advertised speed. As a beginner try to buy based on MB/s not Class as the rating system changed in 2009 and can be very misleading to new buyers.
Cards under the SDHC class rating qualify for "Class 10" with only a 10MB/s speed, but the same speed on cards under the UHS speed class rating introduced in 2009 yield a rating of "Class 1". Often slow cards with low or now UHS rating will advertise their SDHC class speed hoping consumer will think it's the higher performing UHS rating.
Contrary to the typical OEM stigma, SONY makes some great SD cards at very competitive prices.
Camera Accessories Beginners Pay Too Much For #5, Bags & Cases

Buying a bag or case in store is not a good idea unless you're lucky enough to be at B&H Photo Video in New York City, or maybe a Fry's Electronics or Samy's Camera on the west coast. In store bag selections are very limited and not friendly on prices. I suggest getting your bag online, there's no trick here just look for the features that are important to you and you will find it, likely at a good price. Whether you want space to hold your laptop, backpack or satchel style, soft or hard case, it's all there. I prefer backpacks over satchels as satchels tend to get in the way when I'm leaning, squatting, or maneuvering to get a photo. The best bag I've ever had, particularly great for mirrorless cameras, is the LowePro Photo Traveler 150. Now only $26.


 Unless you are safe far away in the wilderness, never leave your camera unattended!!! One bump or nudge from an animal or a person will surely ruin your whole time lapse. Watch out for children! They never seem to watch where they’re going and will be the most likely to ruin your shot.
 So a time lapse that is meant to display changes in a scene over a period of time would be completely countered by a camera with automatic settings meant to minimize changes from shot to shot. If you do shoot automatic it will typically translate as a “flicker” effect. One reason for this is when the camera makes an increase or decrease in aperture attempting to expose the image. Any automatic camera settings during your time lapse will most likely either ruin it completely or take a lot of post production by third party software to try to correct the problems.


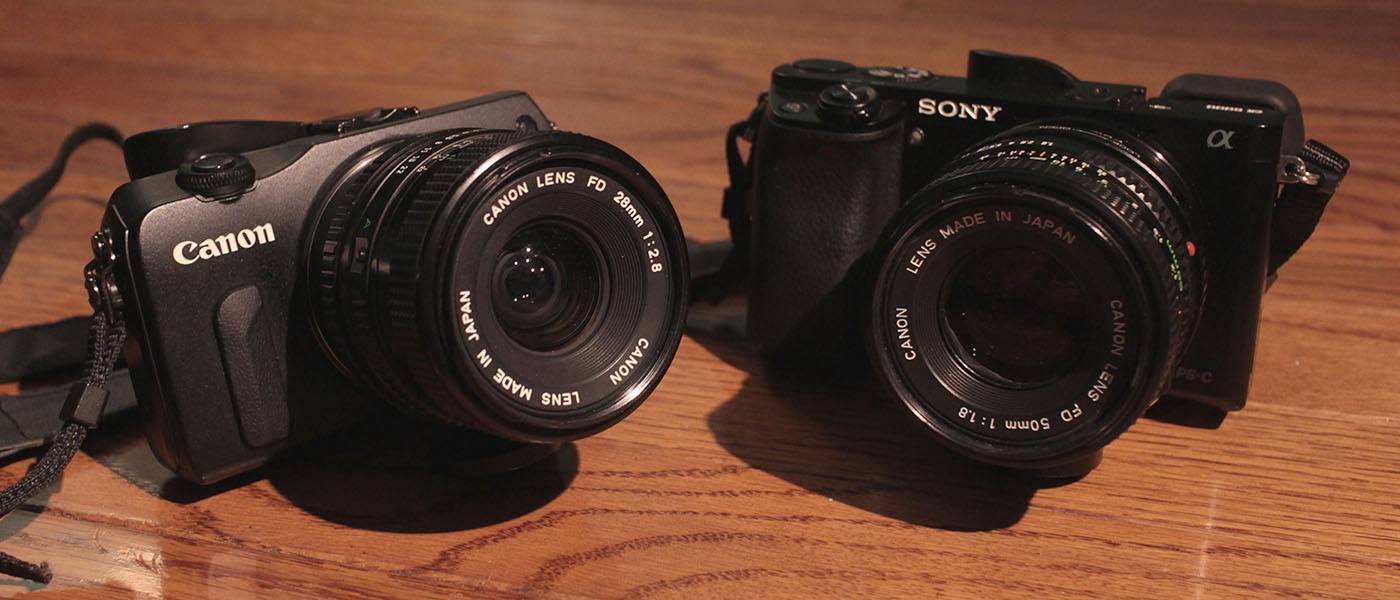

 CANON: Menu, Settings (wrench #4), Custom Functions, C.Fn 7, Release shutter w/o lens, ON
SONY: Menu, Settings (gear), Page 3, Release w/o Lens, ENABLE
CANON: Menu, Settings (wrench #4), Custom Functions, C.Fn 7, Release shutter w/o lens, ON
SONY: Menu, Settings (gear), Page 3, Release w/o Lens, ENABLE